A draft invoice is an invoice you have saved but not yet sent to your customer. Follow the steps below to create a draft, check its details, and save it so it is ready to send.
Before you begin
You will need:
- Permission to create and manage invoices. If the Create Invoice button is greyed out, ask your organization's administrator.
- A customer. You can add one while you create the invoice, or see Add a customer first.
Step 1: Open a new invoice
In the header, click Invoices, then click Create Invoice. You can also click Create Invoice on your dashboard.
The Draft Invoice page opens. If your organization has a default invoice template, the form starts from that template. To start from a different template or a blank invoice, use the Template menu at the top of the page. See Managing and using quote and invoice templates.
Step 2: Choose the customer
In the Bill to section, click Search customers… and type the customer's name. Select the customer from the list.
If the customer is not in the list, click Create new customer, enter their Legal Name and contact details, and click Save.
Step 3: Check the invoice details
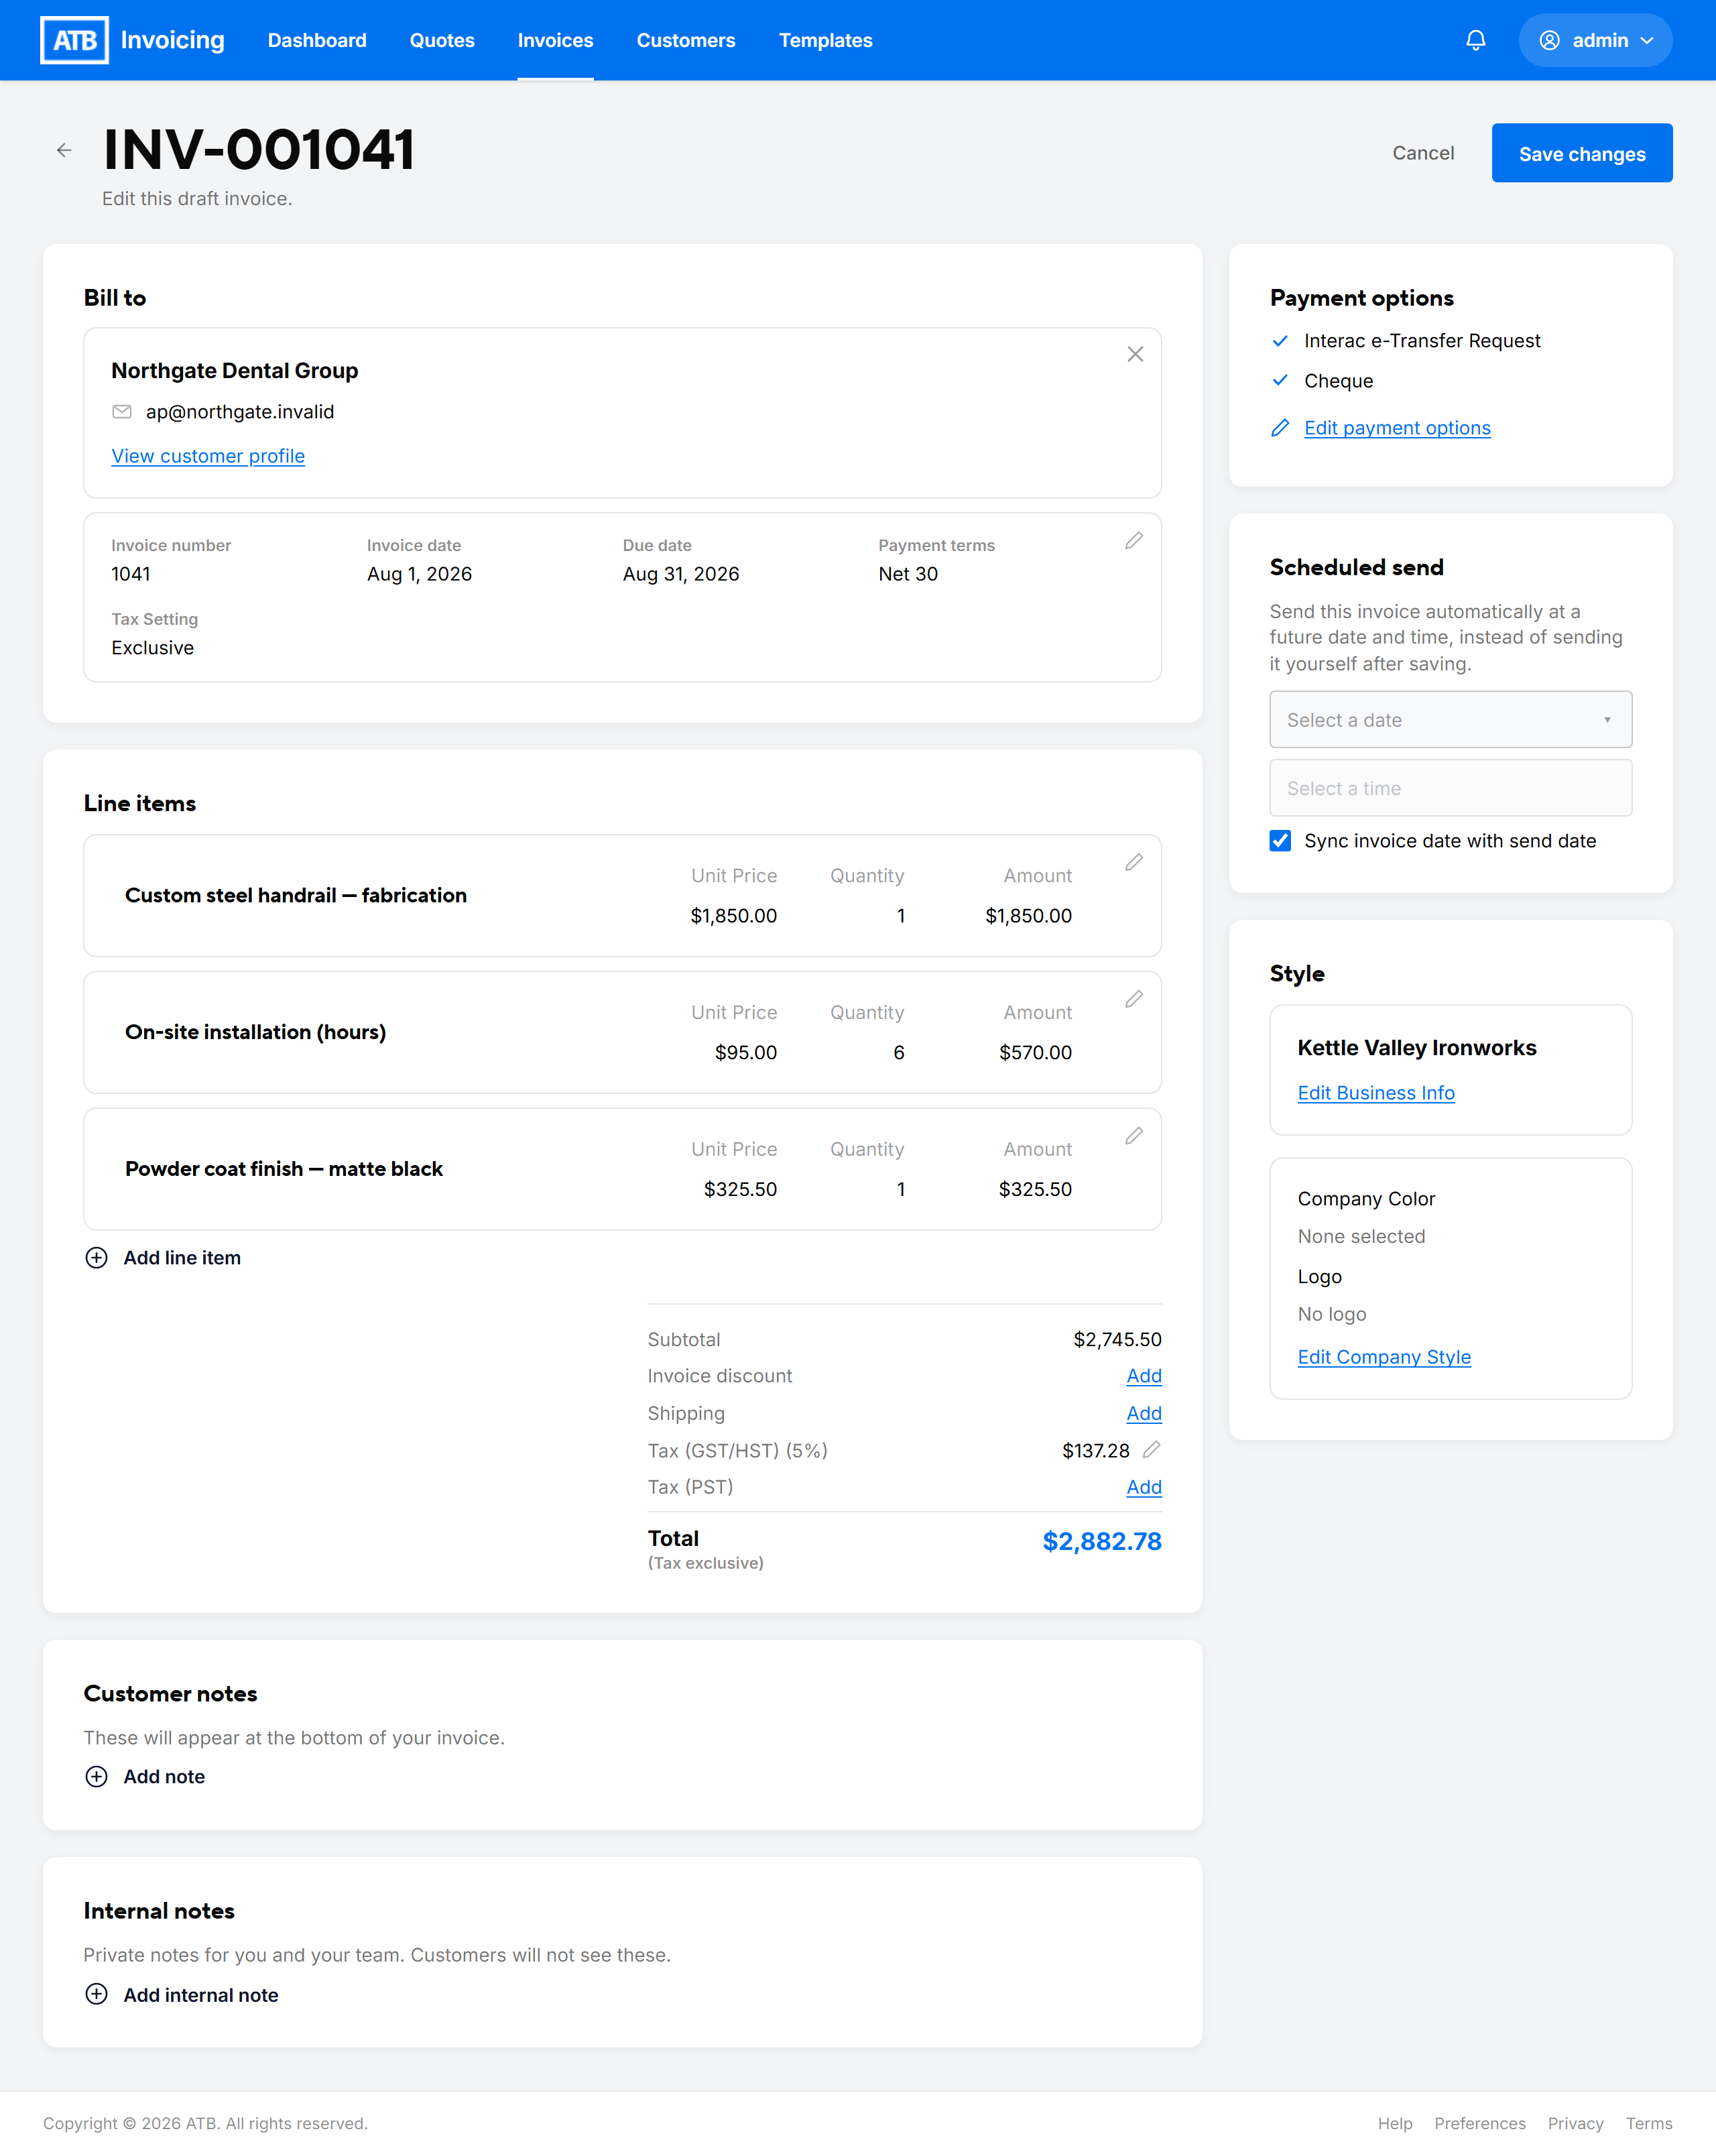
The Bill to section summarizes the invoice details. To change them, click the summary to open Edit Details:
- Invoice number — ATB Invoicing proposes the next available number after the INV- prefix. You can enter any positive whole number that is not already in use. If the number is taken, click the suggested number to use it instead.
- Invoice date — defaults to today.
- Due date — defaults from the customer's payment terms, or your organization's default terms. Choose Due on receipt, Net 7, Net 15, Net 30, or Net 60, or choose Custom date or No due date.
- Tax Setting — choose Exclusive to add tax on top of your prices, or Inclusive if your prices already include tax. See Tax inclusive vs. tax exclusive.
Click Save to close Edit Details. Changes here apply to this invoice only, not to your organization defaults.
Step 4: Add line items
The first line item opens for editing automatically. For each item you are billing:
- Enter a Description, a Unit price, and a Quantity.
- Optionally, select Add tax to set a GST/HST (%) and PST/QST (%) rate for that item only.
- Optionally, select Save for future invoices to reuse the item later. See Managing and using saved items.
- Click Add or Update.
To add another item, click Add line item. To change or remove an item, click it, then edit it or click Delete.
The summary below the line items shows the Subtotal, taxes, and Total. To add or change tax for the whole invoice, click Add or the pencil icon beside Tax (GST/HST) or Tax (PST) and enter the rate.
Note. Amounts are in Canadian dollars. GST/HST starts at 5% on a new blank invoice. Change or remove it if it does not apply to this invoice.
Step 5: Add notes (optional)
- Customer notes appear at the bottom of the invoice your customer sees.
- Internal notes are private notes for you and your team. Customers do not see them.
See The difference between internal notes and customer notes.
Step 6: Check the payment options
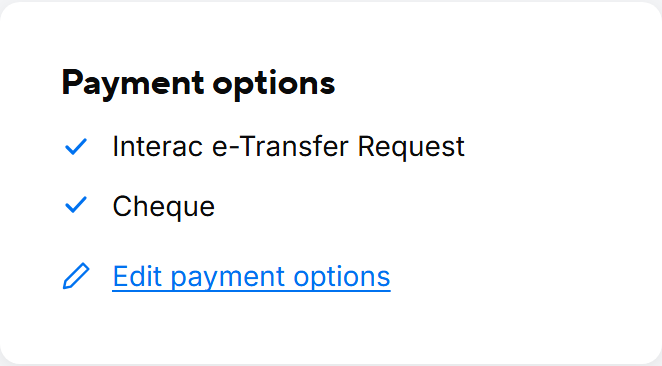
The Payment options section lists the payment methods shown on the invoice. They are preselected from the customer's payment preferences. To change them, click Edit payment options, select the methods you want, and click Save.
Only the methods your organization has set up are available: Interac e-Transfer, EFT (direct deposit), cheque, and cash.
Step 7: Save the draft
Click See Preview. If the invoice includes EFT, cheque, or cash, the Manual Reconciliation Required dialog explains that you must mark the invoice as paid yourself when those funds arrive. Click Continue to save, or Back to Edit to change the payment options.
The invoice is saved with the status Draft and its page opens. Nothing is sent to your customer until you send it. See Sending and resending an invoice or quote.
Tip. To have the invoice sent automatically later, set a date and time in the Scheduled send section before you save. See Scheduled sending for invoices.
Common issues
The See Preview button is greyed out.
Choose a customer and make sure every line item has a description and a quantity greater than zero. If a line item is still open for editing, click Add or Update to finish it.
"Already in use." appears beside the invoice number.
Another invoice in your organization uses that number. Enter a different number or click the suggested number.